
How can I set up white-label settings in IngeniousPlex?
Step 1: Get your custom seat created by our tech team from the backend.
You’ll be required to provide:
- Full branded URL
- SSL certificate
- Redirect URL
- Support email ID
- Company slogan
Step 2: Log in your portal with the credentials provided by our tech team (image 1)
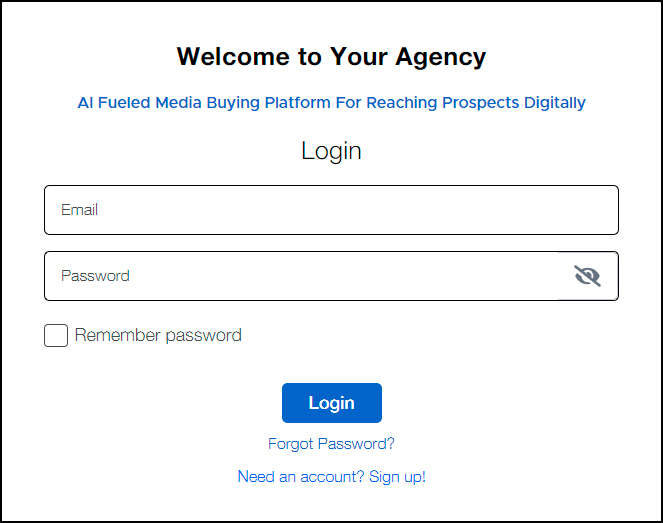
Image 1
Step 3:
- Go to Brand Settings from the navigation in the left and select Interface Settings. (image 2)
- Fill in the required details to customize your platform. (image 3)
Note that we recommend you to upload a proper loader (logo gif) to avoid the appearance of a broken image while the page loads.
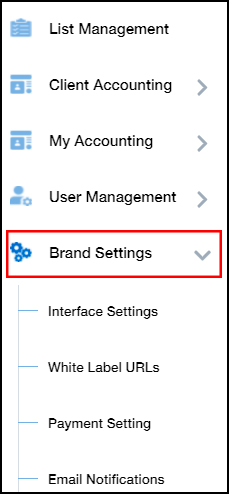
Image 2
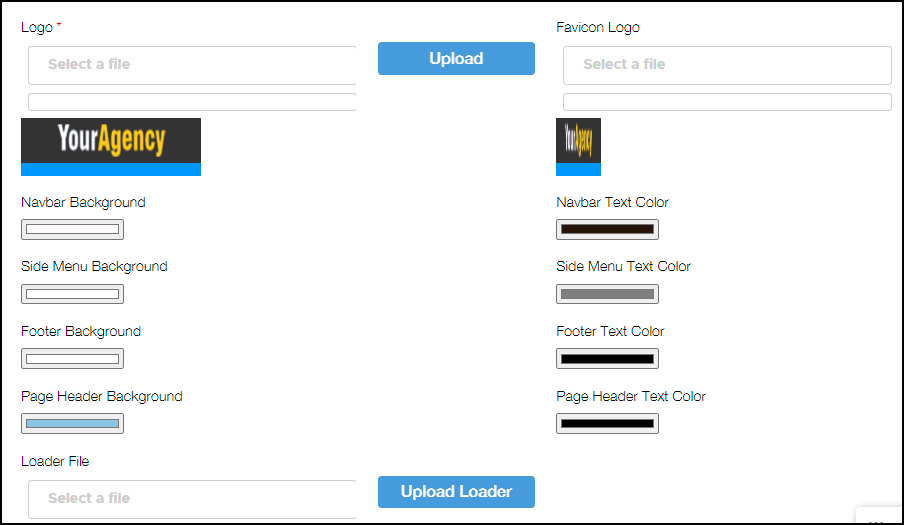
Image 3
Step 4:
- Upon filling required details in the interface settings, go to White-label URLs below interface settings. (image 2)
- Fill in all the required URLs. (image 4)
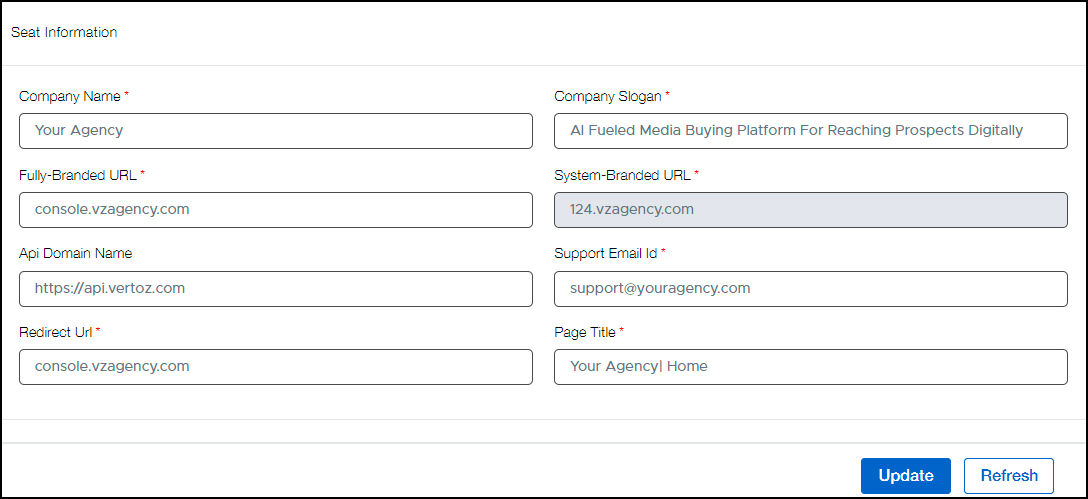
Image 4
Step 5:
- Upon filling all the required details in brand settings and white-label URLs, go to Payment Settings from the Brand Setting in the left navigation. (image 2)
- You’ll need to update the payment gateway that your agency has a tie-up with. (image 5)
- Share your secret key and API key with our tech team to have your payment gateway integrated.
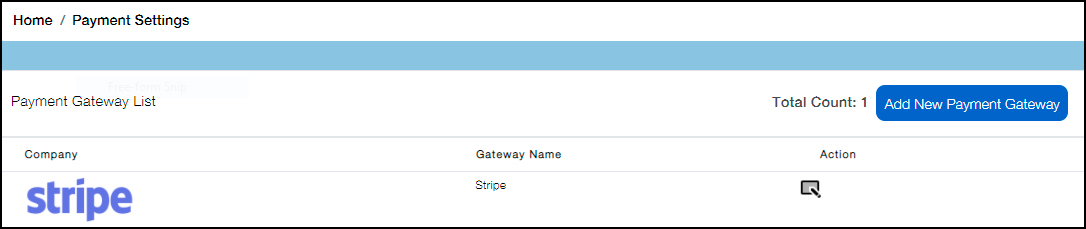
Image 5
Step 6:
- Similarly, go to Email Notifications under Brand Settings. (image 2)
- Add the required email addresses. (image 5)
- Log out from the portal and log in again for the changes to get reflected.
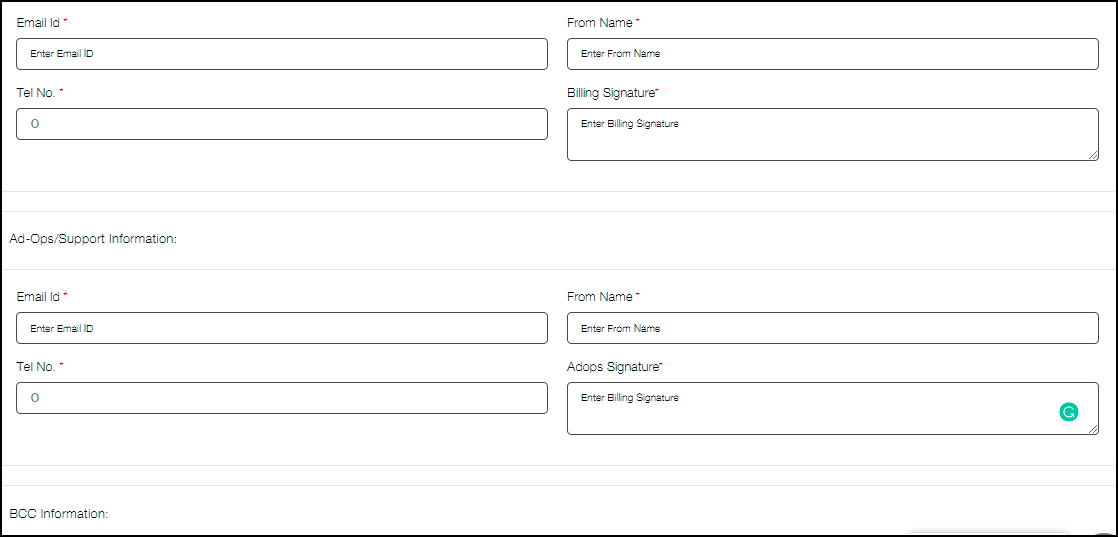
Image 6
If you have any additional queries, please reach us at mktg@ingeniousplex.com.